


Before repairing a Mercedes license plate light, inspect for damage and gather tools including screwdrivers, wire strippers, replacement bulbs from a reputable supplier, and heat-resistant tape or sealant. Remove and examine the faulty light, seeking professional help if needed. Replace the bulb, reassemble the light assembly, and ensure proper connections. Repaired lights enhance safety, maintain Mercedes' appearance, and adhere to traffic regulations.
Discover how to effortlessly fix your Mercedes’ dim or malfunctioning license plate light with this comprehensive step-by-step guide. From assessing damage and gathering the right tools to replacing the bulb and reassembling the assembly, each process is broken down for a seamless DIY experience. Learn the ins and outs of Mercedes license plate light repair, ensuring your vehicle shines bright and remains road-ready.
- Assess Damage and Gather Tools
- Remove and Inspect License Plate Light
- Replace Bulb and Reassemble Assembly
Assess Damage and Gather Tools
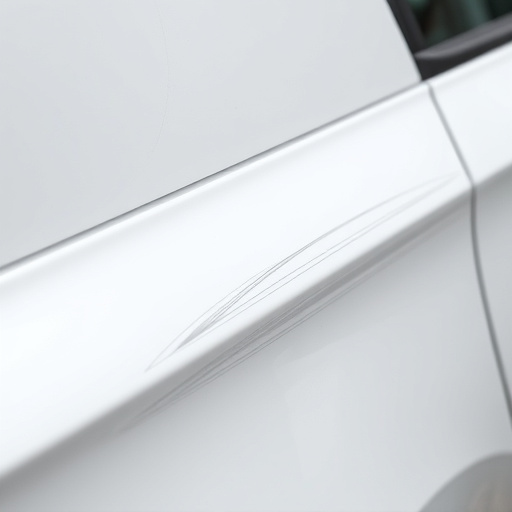
Before starting any Mercedes license plate light repair, it’s crucial to assess the damage thoroughly. Inspect both the front and rear lights for cracks, burns, or signs of corrosion. Also, look out for any loose connections or damaged wiring within the housing. This step is essential as it helps you understand the extent of the repair required.
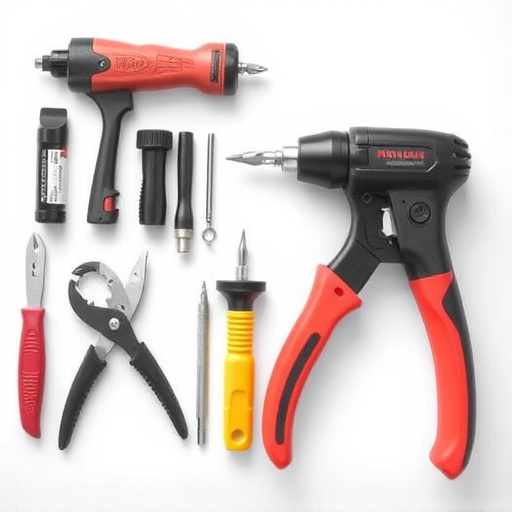
Gather all necessary tools to ensure a successful fix. You’ll need a set of sturdy screwdrivers, wire strippers, replacement bulbs (preferably from a reputable Mercedes parts supplier), and possibly some heat-resistant tape or sealant for any gaps or cracks discovered during your assessment. While you can often find these tools in a well-equipped garage, some might consider visiting a tire services or collision repair shop to source the exact parts needed for their Mercedes license plate light repair.
Remove and Inspect License Plate Light

The first step in your Mercedes license plate light repair journey is to remove and inspect the faulty light. This process is straightforward but requires precision. Begin by locating the license plate light assembly, typically mounted on the rear bumper or the license plate frame. Use a suitable tool to gently pry off the existing light housing, taking note of how it detaches for future reference. Once removed, carefully inspect the light itself and its surrounding components. Look for any cracks, burnt-out bulbs, or loose wiring that might be causing the issue.
During inspection, consider the overall condition of the car dent removal and body restoration work, as a damaged or misaligned license plate frame can also lead to faulty lighting. If you’re not comfortable performing this check yourself, consider visiting an auto repair shop near your location where professionals equipped with the right tools can assist in diagnosing the problem, ensuring a thorough Mercedes license plate light repair.
Replace Bulb and Reassemble Assembly
After identifying and removing the faulty license plate light, it’s time to replace the bulb. Most Mercedes license plate lights use a simple bayonet-style connection, making bulb replacement straightforward. Simply unscrew the old bulb from its socket, ensuring no damage to the plastic housing during removal. Once the old bulb is out, insert the new one in the same direction as before, until it locks into place. Always check that the new bulb is compatible with your Mercedes model and functions correctly before proceeding.
Once the new bulb is installed, carefully reassemble the license plate light assembly. This usually involves snapping or screwing on the outer casing, ensuring all components are securely in place. Double-check for any loose connections or signs of damage, particularly if the light housing has been exposed to weather or impact during the removal process. With proper care and attention, your Mercedes license plate light should now function as good as new, enhancing safety on the road and maintaining that sleek, professional look. Remember, a working license plate light is not just about visibility; it’s also about adhering to traffic regulations and ensuring other drivers can identify your vehicle clearly at night.
Repairing your Mercedes’ license plate light is a straightforward process that can be accomplished in just a few simple steps. By assessing the damage, removing and inspecting the light assembly, replacing the bulb, and then reassembling, you can ensure your vehicle’s lighting system functions optimally. With the right tools and this step-by-step guide, you’ll be well on your way to restoring your Mercedes’ exterior lighting, enhancing both safety and aesthetics.